
MARQUEE STAR LIGHT DIY
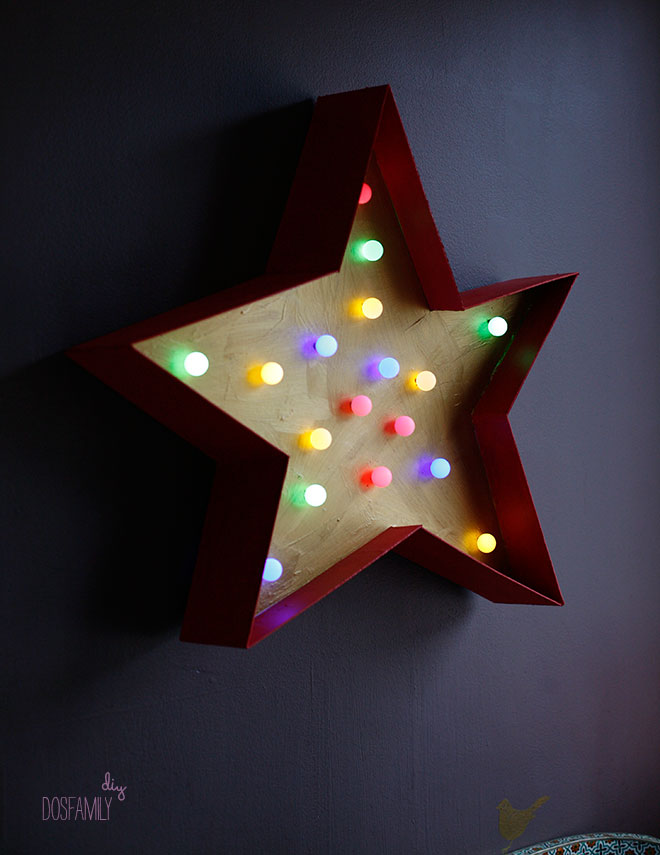
This is a DIy project I’ve been wanting to try for a long time. How to make your own marguee lights. Once you get a hang of ot – it wasn’t that hard to make. Well I guess nothing is when you learn it- right?
A couple of weeks ago I explained it all on Tv4 Nyhetsmorgon. It’s in Swedish but you can watch it here.
You’ll need:
Cardboard about 3mm thick – try in the store. If you want to make letters then take cardboard strong to hold but not too thick that you still are able to shape it without getting fold marks.
Ruler
Pen
Glue gun
LED lights – I bought light’s with small balls on top that I was able to remove, then stick trough the cardboard and then reattach them on the front. It’s important to use lights that’s not going to be hot. Like LEd.
Tape
Paint
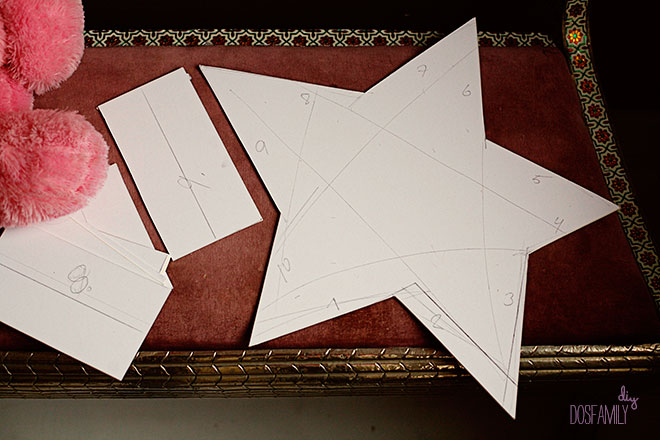
The star is easy to make. I just drew a star – then measured each points and made sides that where equally long. The sides are about 7-10 cm high and I drew a line at the middle to know wehere to attach them on the star. The sides is for making the star strong but also to hide all the electricity at the back and to give it a great finish. I just glued all the sides to the star with a glue gun. Then I made random holes for the lightning. And at the end painted the whole thing.
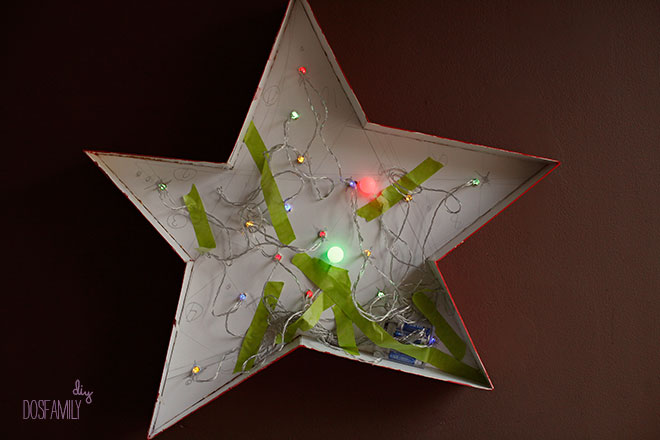
At the back I simply attached the LED strand with some tape.
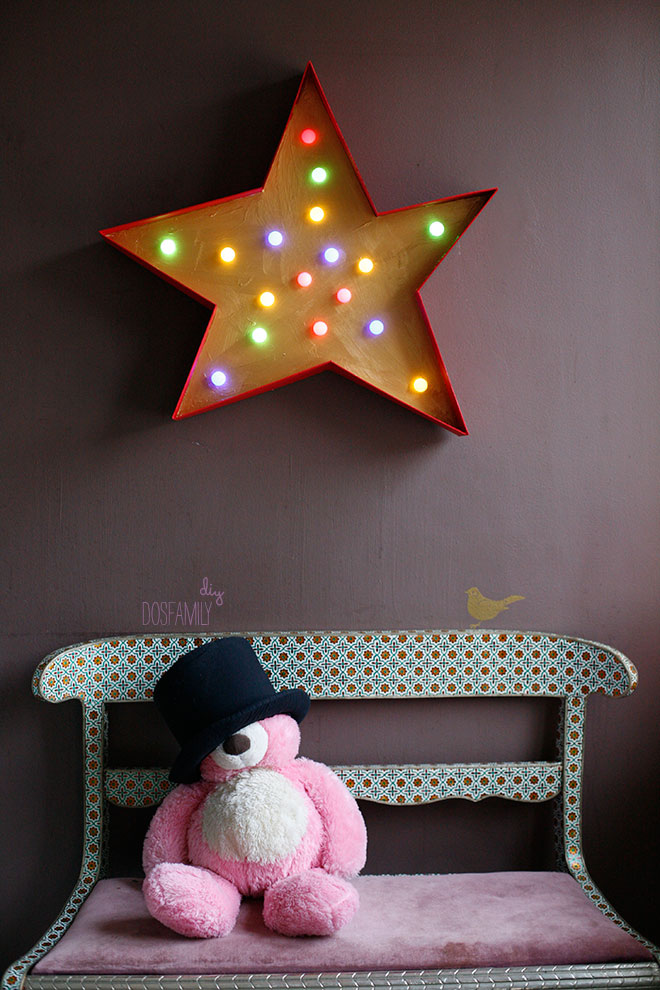
The kids wanted it in gold and red – made it look even more like at the Circus.
xx
Isabelle